Create custom model serving endpoints
This article describes how to create model serving endpoints that serve custom models using Databricks Model Serving.
Model Serving provides the following options for serving endpoint creation:
- The Serving UI
- REST API
- MLflow Deployments SDK
For creating endpoints that serve generative AI models, see Create foundation model serving endpoints.
Requirements
- Your workspace must be in a supported region.
- If you use custom libraries or libraries from a private mirror server with your model, see Use custom Python libraries with Model Serving before you create the model endpoint.
- For creating endpoints using the MLflow Deployments SDK, you must install the MLflow Deployment client. To install it, run:
import mlflow.deployments

client = mlflow.deployments.get_deploy_client("databricks")
Access control
To understand access control options for model serving endpoints for endpoint management, see Manage permissions on your model serving endpoint.
You can also:
- Add an instance profile to a model serving endpoint
- Configure access to resources from model serving endpoints
Create an endpoint
- Serving UI
- REST API
- MLflow Deployments SDK
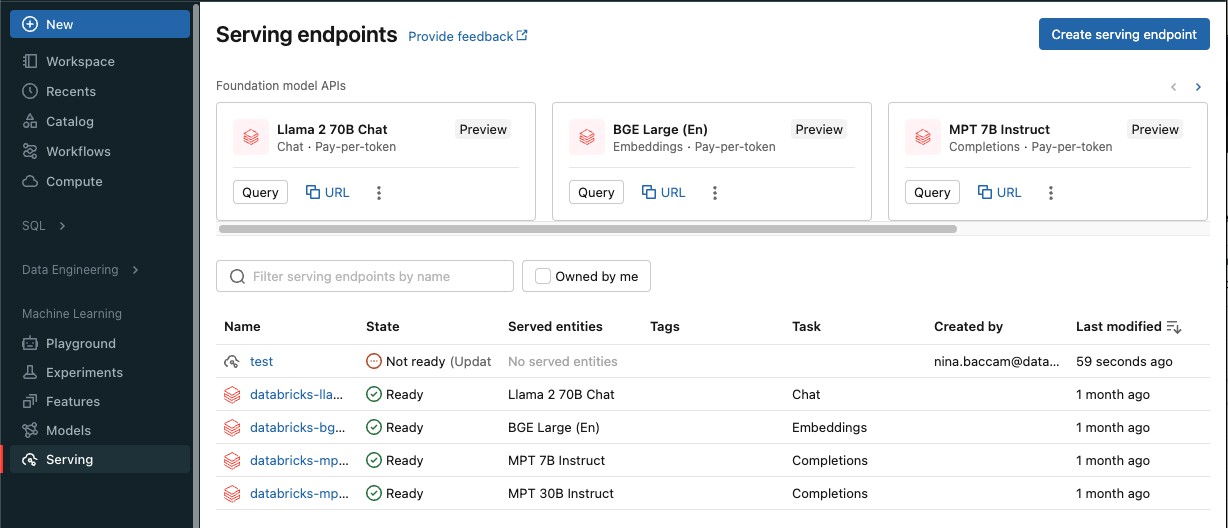
You can create an endpoint for model serving with the Serving UI.
-
Click Serving in the sidebar to display the Serving UI.
-
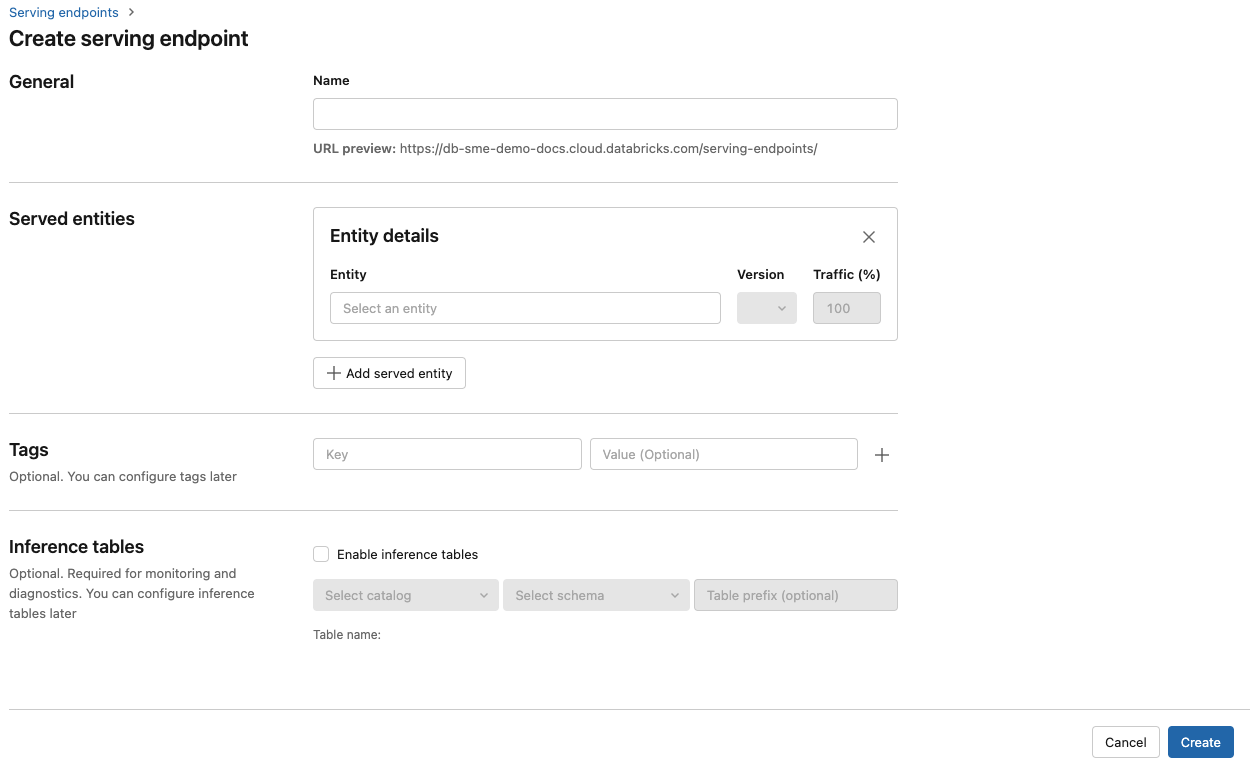
Click Create serving endpoint.
For models registered in the Workspace model registry or models in Unity Catalog:
-
In the Name field provide a name for your endpoint.
-
In the Served entities section
- Click into the Entity field to open the Select served entity form.
- Select the type of model you want to serve. The form dynamically updates based on your selection.
- Select which model and model version you want to serve.
- Select the percentage of traffic to route to your served model.
- Select what size compute to use. You can use CPU or GPU computes for your workloads. See GPU workload types for more information on available GPU computes.
- Under Compute Scale-out, select the size of the compute scale out that corresponds with the number of requests this served model can process at the same time. This number should be roughly equal to QPS x model run time.
- Available sizes are Small for 0-4 requests, Medium 8-16 requests, and Large for 16-64 requests.
- Specify if the endpoint should scale to zero when not in use.
- Under Advanced configuration, you can add an instance profile to connect to AWS resources from your endpoint.
-
Click Create. The Serving endpoints page appears with Serving endpoint state shown as Not Ready.
You can create endpoints using the REST API. See POST /api/2.0/serving-endpoints for endpoint configuration parameters.
The following example creates an endpoint that serves the first version of the ads1 model that is registered in the Unity Catalog model registry. To specify a model from Unity Catalog, provide the full model name including parent catalog and schema such as, catalog.schema.example-model.
POST /api/2.0/serving-endpoints

{
  "name": "uc-model-endpoint",
  "config":
  {
    "served_entities": [
      {
        "name": "ads-entity"
        "entity_name": "catalog.schema.my-ads-model",
        "entity_version": "3",
        "workload_size": "Small",
        "scale_to_zero_enabled": true
      },
      {
        "entity_name": "catalog.schema.my-ads-model",
        "entity_version": "4",
        "workload_size": "Small",
        "scale_to_zero_enabled": true
      }
    ],
    "traffic_config":
    {
      "routes": [
        {
          "served_model_name": "my-ads-model-3",
          "traffic_percentage": 100
        },
        {
          "served_model_name": "my-ads-model-4",
          "traffic_percentage": 20
        }
      ]
    }
  },
  "tags": [
    {
      "key": "team",
      "value": "data science"
    }
  ]
}
The following is an example response. The endpoint’s config_update state is NOT_UPDATING and the served model is in a READY state.
{
  "name": "uc-model-endpoint",
  "creator": "user@email.com",
  "creation_timestamp": 1700089637000,
  "last_updated_timestamp": 1700089760000,
  "state": {
    "ready": "READY",
    "config_update": "NOT_UPDATING"
  },
  "config": {
    "served_entities": [
      {
        "name": "ads-entity",
        "entity_name": "catalog.schema.my-ads-model-3",
        "entity_version": "3",
        "workload_size": "Small",
        "scale_to_zero_enabled": true,
        "workload_type": "CPU",
        "state": {
          "deployment": "DEPLOYMENT_READY",
          "deployment_state_message": ""
        },
        "creator": "user@email.com",
        "creation_timestamp": 1700089760000
      }
    ],
    "traffic_config": {
      "routes": [
        {
          "served_model_name": "catalog.schema.my-ads-model-3",
          "traffic_percentage": 100
        }
      ]
    },
    "config_version": 1
  },
  "tags": [
    {
      "key": "team",
      "value": "data science"
    }
  ],
  "id": "e3bd3e471d6045d6b75f384279e4b6ab",
  "permission_level": "CAN_MANAGE",
  "route_optimized": false
}
MLflow Deployments provides an API for create, update and deletion tasks. The APIs for these tasks accept the same parameters as the REST API for serving endpoints. See POST /api/2.0/serving-endpoints for endpoint configuration parameters.
The following example creates an endpoint that serves the third version of the my-ads-model model that is registered in the Unity Catalog model registry. You must provide the full model name including parent catalog and schema such as, catalog.schema.example-model.
from mlflow.deployments import get_deploy_client

client = get_deploy_client("databricks")
endpoint = client.create_endpoint(
    name="unity-catalog-model-endpoint",
    config={
        "served_entities": [
            {
                "name": "ads-entity"
                "entity_name": "catalog.schema.my-ads-model",
                "entity_version": "3",
                "workload_size": "Small",
                "scale_to_zero_enabled": true
            }
        ],
        "traffic_config": {
            "routes": [
                {
                    "served_model_name": "my-ads-model-3",
                    "traffic_percentage": 100
                }
            ]
        }
    }
)
You can also:
- Configure your endpoint for route optimization.
- Add an instance profile to your model serving endpoint to access AWS resources.
- Enable inference tables to automatically capture incoming requests and outgoing responses to your model serving endpoints.
GPU workload types
GPU deployment is compatible with the following package versions:
- Pytorch 1.13.0 - 2.0.1
- TensorFlow 2.5.0 - 2.13.0
- MLflow 2.4.0 and above
To deploy your models using GPUs include the workload_type field in your endpoint configuration during endpoint creation or as an endpoint configuration update using the API. To configure your endpoint for GPU workloads with the Serving UI, select the desired GPU type from the Compute Type dropdown.
{
  "served_entities": [{
    "entity_name": "catalog.schema.ads1",
    "entity_version": "2",
    "workload_type": "GPU_MEDIUM",
    "workload_size": "Small",
    "scale_to_zero_enabled": false,
  }]
}
The following table summarizes the available GPU workload types supported.
| GPU workload type | GPU instance | GPU memory |
|---|---|---|
GPU_SMALL | 1xT4 | 16GB |
GPU_MEDIUM | 1xA10G | 24GB |
MULTIGPU_MEDIUM | 4xA10G | 96GB |
GPU_MEDIUM_8 | 8xA10G | 192GB |
Modify a custom model endpoint
After enabling a custom model endpoint, you can update the compute configuration as desired. This configuration is particularly helpful if you need additional resources for your model. Workload size and compute configuration play a key role in what resources are allocated for serving your model.
Until the new configuration is ready, the old configuration keeps serving prediction traffic. While there is an update in progress, another update cannot be made. However, you can cancel an in progress update from the Serving UI.
- Serving UI
- REST API
- MLflow Deployments SDK
After you enable a model endpoint, select Edit endpoint to modify the compute configuration of your endpoint.
You can do the following:
- Choose from a few workload sizes, and autoscaling is automatically configured within the workload size.
- Specify if your endpoint should scale down to zero when not in use.
- Modify the percent of traffic to route to your served model.
You can cancel an in progress configuration update by selecting Cancel update on the top right of the endpoint’s details page. This functionality is only available in the Serving UI.
The following is an endpoint configuration update example using the REST API. See PUT /api/2.0/serving-endpoints/{name}/config.
PUT /api/2.0/serving-endpoints/{name}/config

{
  "name": "unity-catalog-model-endpoint",
  "config":
  {
    "served_entities": [
      {
        "entity_name": "catalog.schema.my-ads-model",
        "entity_version": "5",
        "workload_size": "Small",
        "scale_to_zero_enabled": true
      }
    ],
    "traffic_config":
    {
      "routes": [
        {
          "served_model_name": "my-ads-model-5",
          "traffic_percentage": 100
        }
      ]
    }
  }
}
The MLflow Deployments SDK uses the same parameters as the REST API, see PUT /api/2.0/serving-endpoints/{name}/config for request and response schema details.
The following code sample uses a model from the Unity Catalog model registry:
import mlflow
from mlflow.deployments import get_deploy_client

mlflow.set_registry_uri("databricks-uc")
client = get_deploy_client("databricks")

endpoint = client.create_endpoint(
  name=f"{endpointname}",
  config={
    "served_entities": [
        {
            "entity_name": f"{catalog}.{schema}.{model_name}",
            "entity_version": "1",
            "workload_size": "Small",
            "scale_to_zero_enabled": True
        }
    ],
    "traffic_config": {
        "routes": [
            {
                "served_model_name": f"{model_name}-1",
                "traffic_percentage": 100
            }
        ]
    }
  }
)
Scoring a model endpoint
To score your model, send requests to the model serving endpoint.
Additional resources
- Manage model serving endpoints.
- External models in Mosaic AI Model Serving.
- If you prefer to use Python, you can use the Databricks real-time serving Python SDK.
Notebook examples
The following notebooks include different Databricks registered models that you can use to get up and running with model serving endpoints. For additional examples, see Tutorial: Deploy and query a custom model.
The model examples can be imported into the workspace by following the directions in Import a notebook. After you choose and create a model from one of the examples, register it in Unity Catalog, and then follow the UI workflow steps for model serving.